
I made some progress today on the Source Selector Unit. The twelve twisted pairs are all soldered to the selector switch and I managed some chassis wiring as well.
The selector control at this point looks more like a very colorful spider than an electronic component.
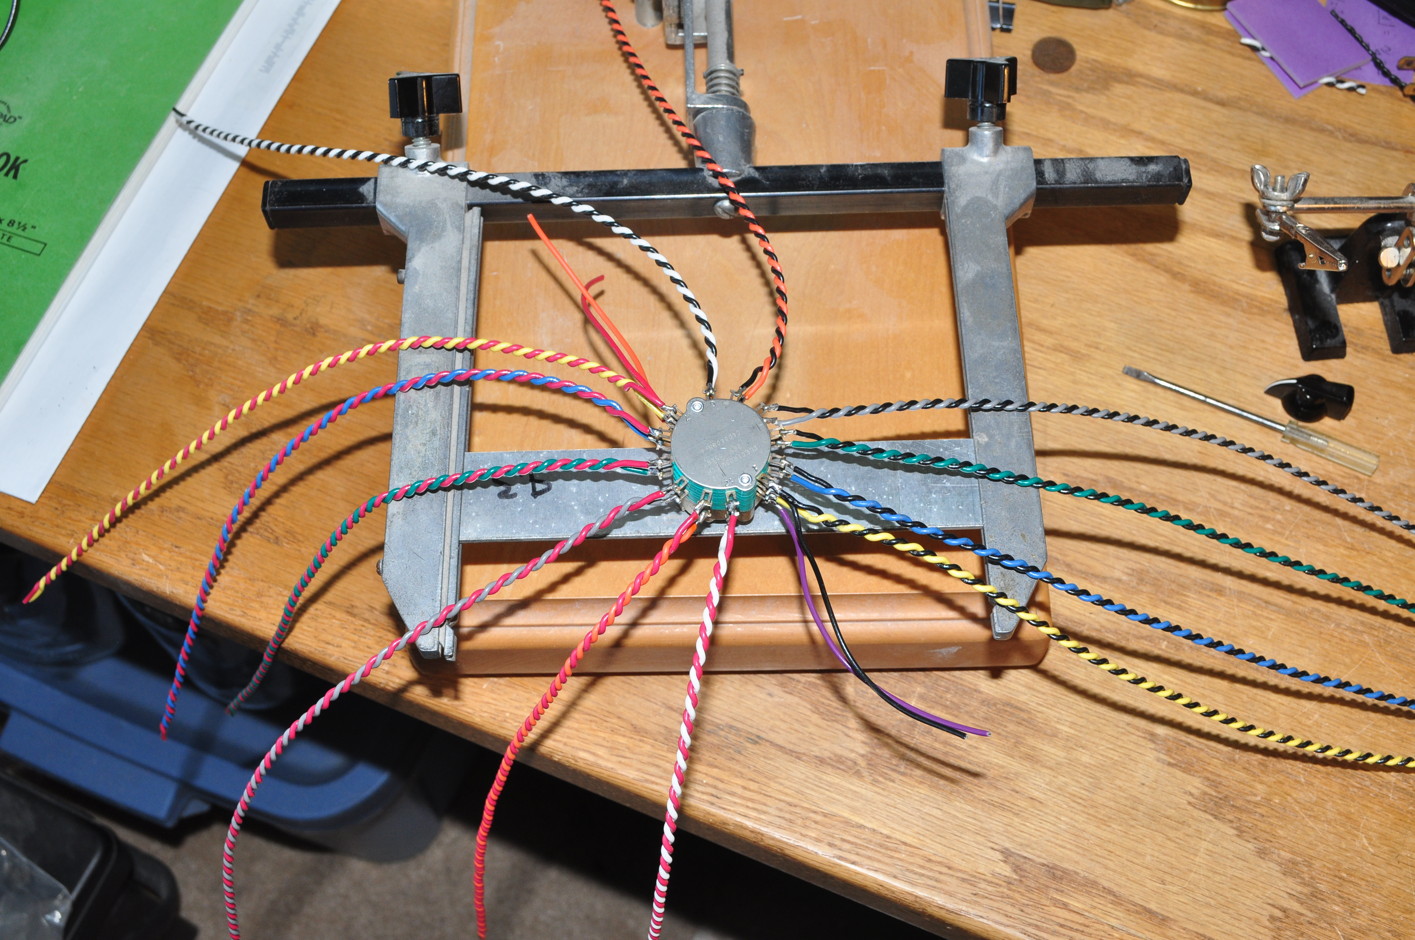
This was tedious work. But now that it’s finished I can get it installed in the chassis and begin bundling the wires going back to the inputs.
I also managed to get the AC power wiring completed in the chassis as well as getting the pigtails soldered on the VU meters. Here is the power wiring.
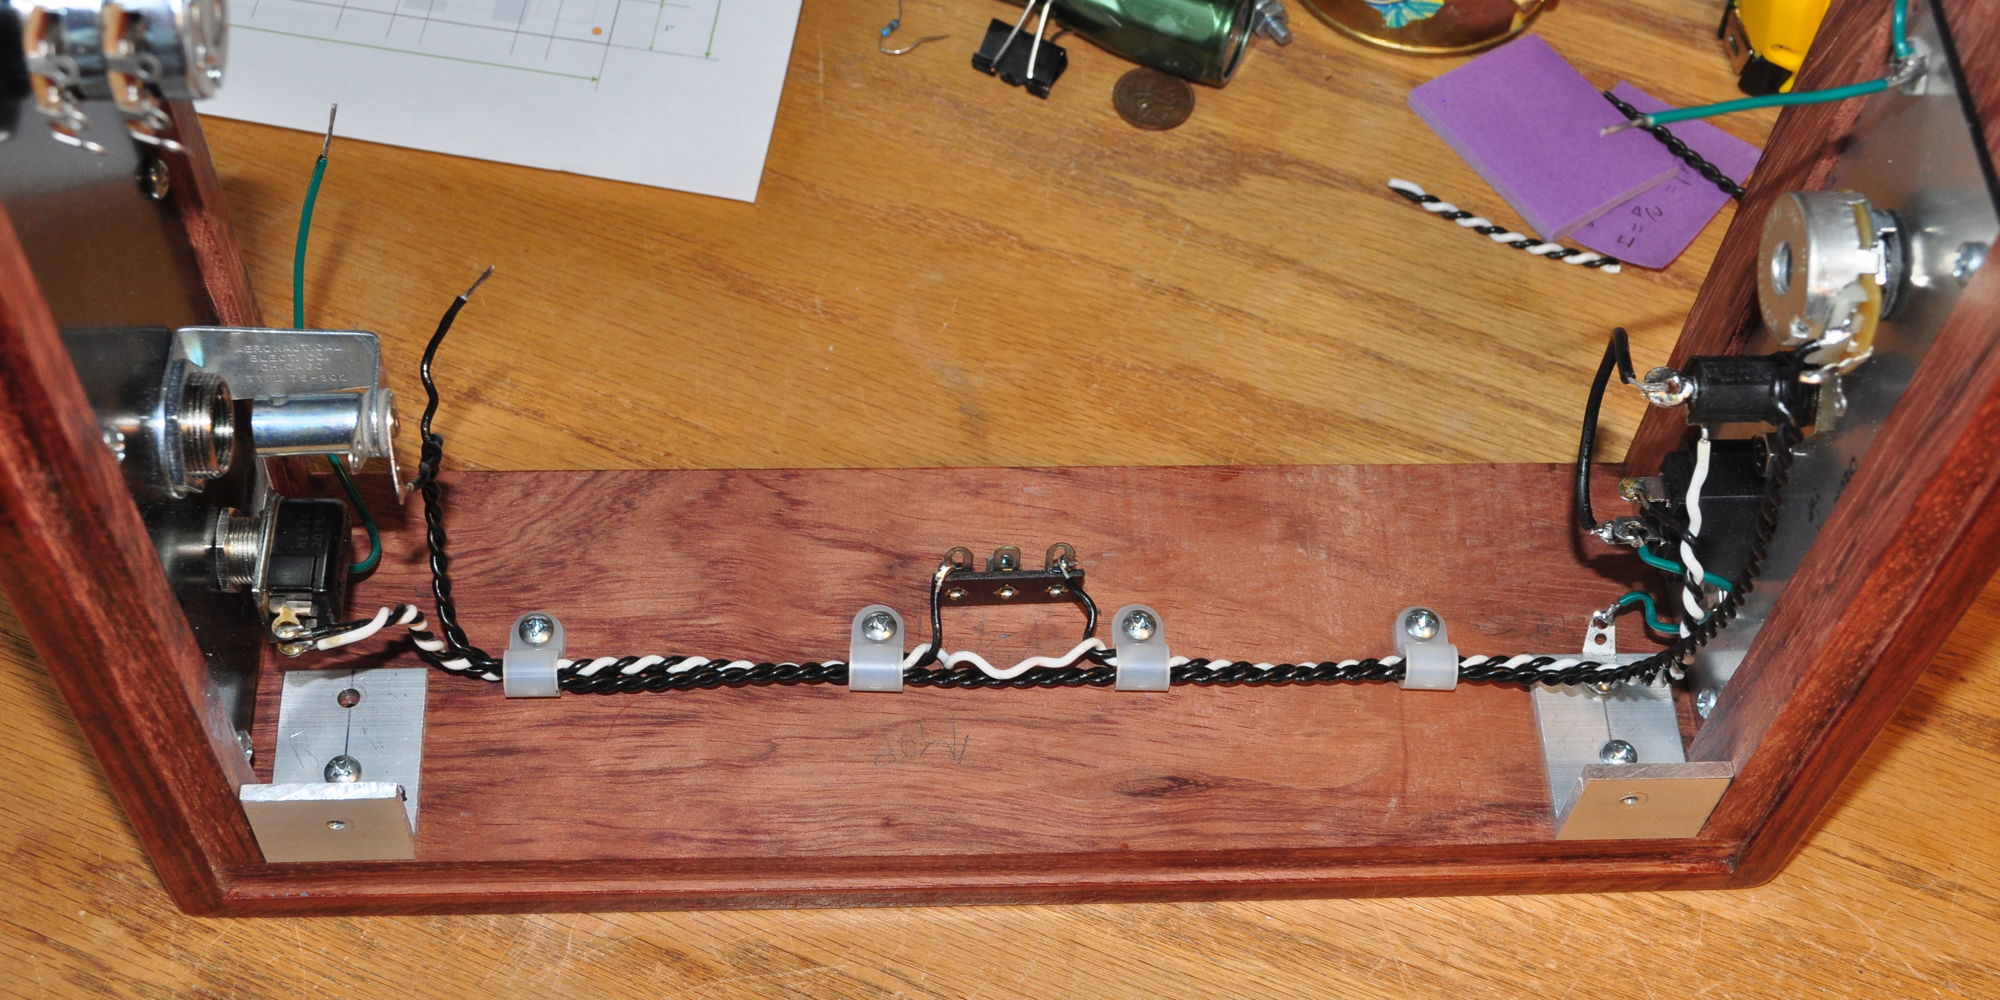
This includes not just the 120v AC but the dimmer for the indicator as well. Another item is all the grounding wires for the chassis safety ground. You can see one of these green wires in the upper right of the above photo.
I also installed the VU meter control board and wired the power for that as well. Here is what the base plate looks like today.
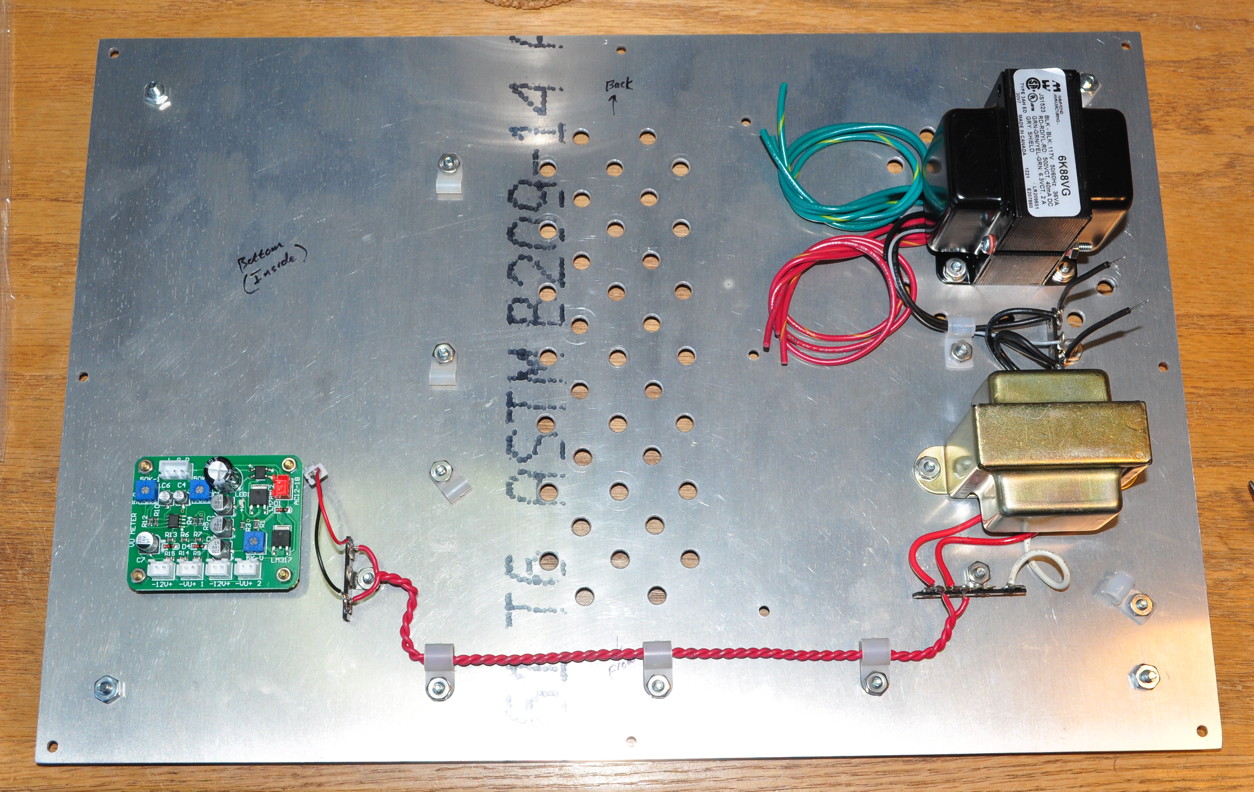
I think I’m very close to permanently installing the base plate on the wood chassis. Since this will limit access to some things, I’ll need to consider the actual order of assembly carefully.
As illustrated above, today was an exercise in getting lots of small tasks completed. I haven’t even begun to work with the tube assembly yet. I decided that I need to get the tedious work completed before I reward myself with wiring up and testing the tube circuits.
As always, questions and comments are welcome.
Reminds me of a railroad roundhouse where all the lines come in to a central control.