
With the return of some more normal weather here I got the chance to work on the SET chassis today. Specifically I got the bare copper plates chemically treated for the patina for which I was looking. They look good. Or, more accurately, they look just the way I imagined when I first thought of doing this. I’m very happy with the results.
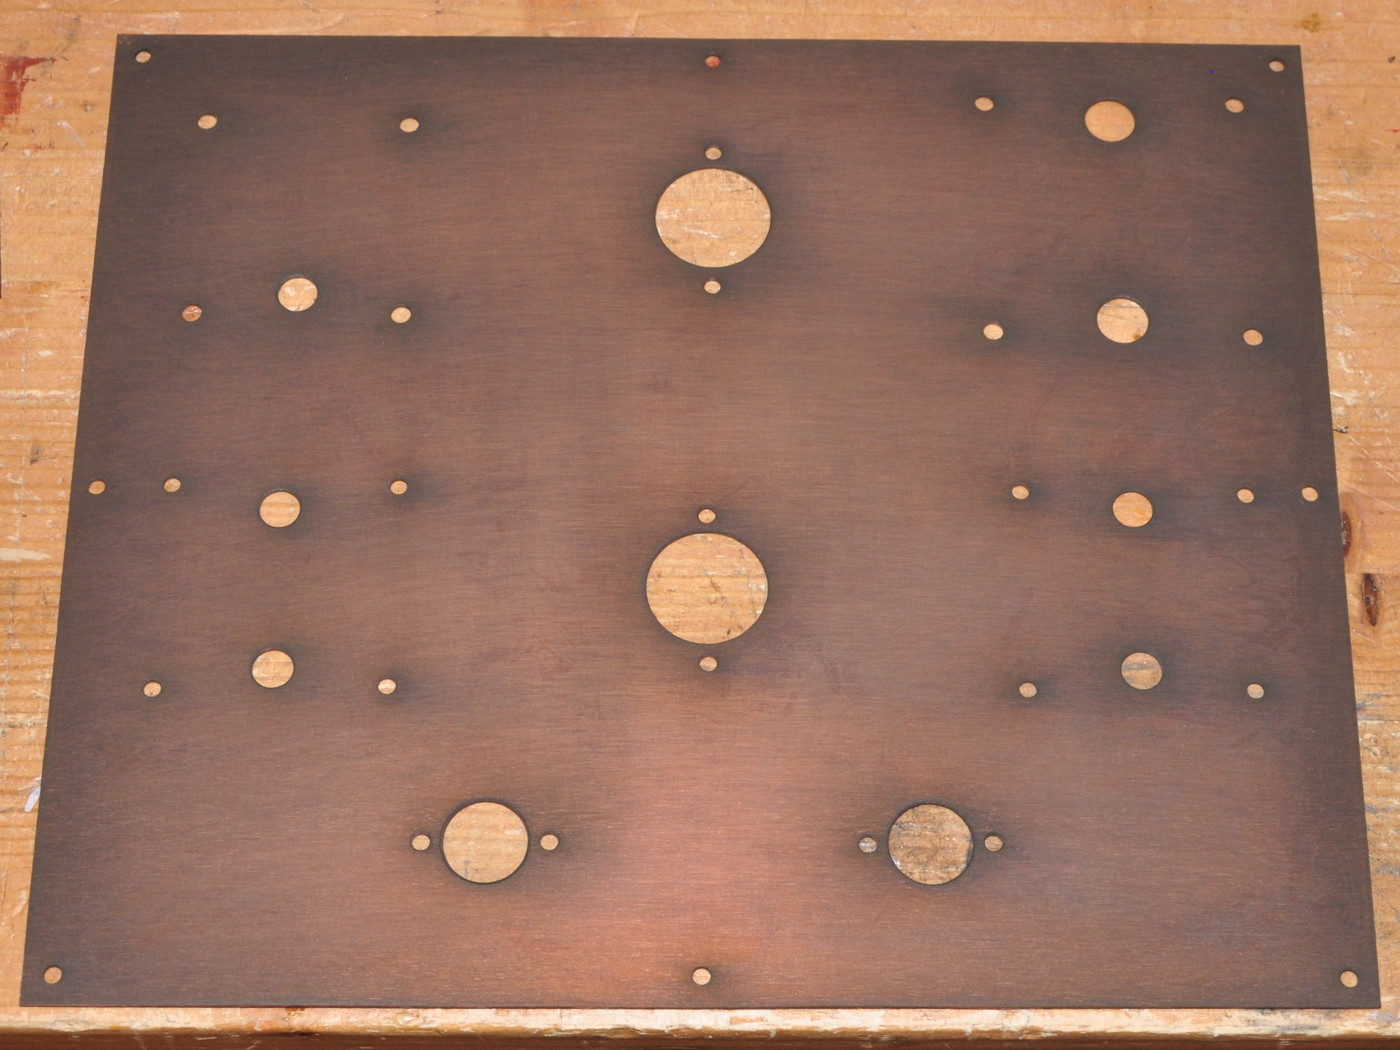
I’ve been experimenting with different techniques and I think I finally got the look I wanted. This is what the copper plates look like. First the top.
And the smaller pieces.
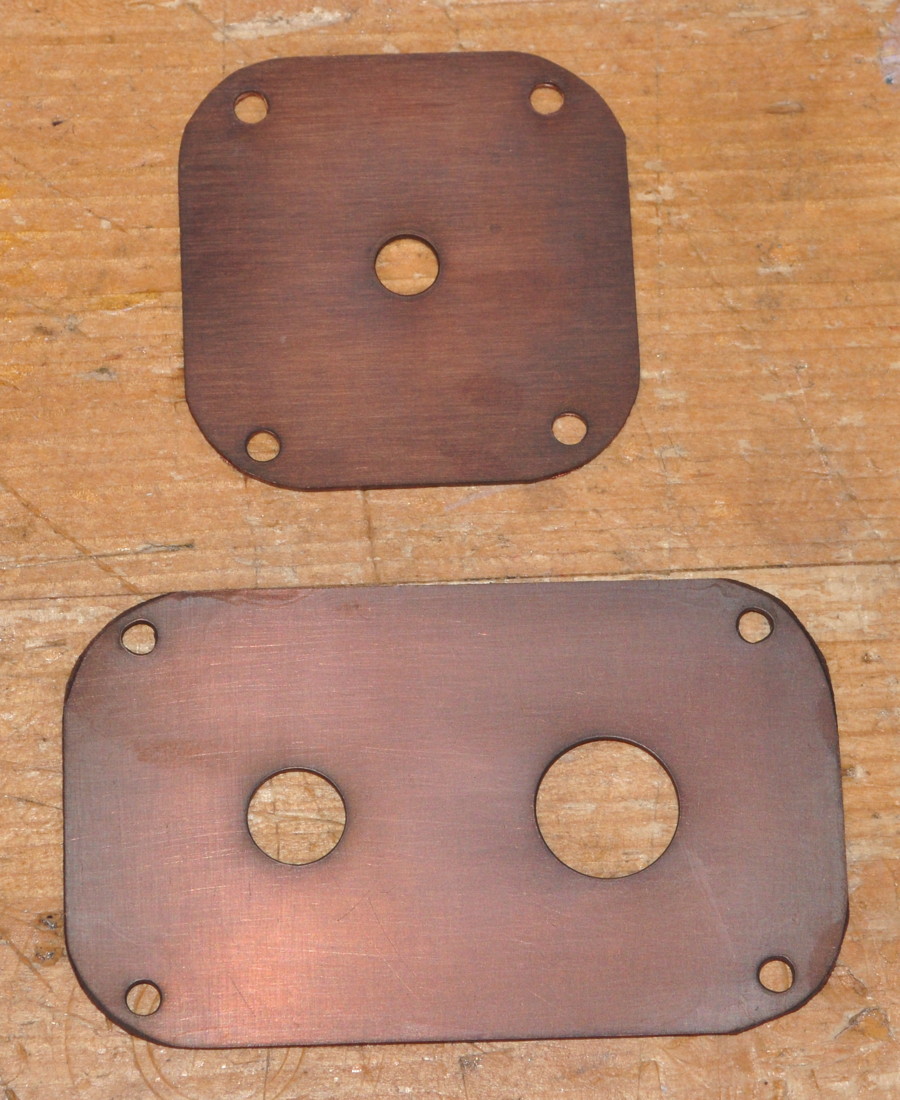
This is that “tarnished penny” look that I described all those months ago. And there are some subtile imperfections that add to the aged look. These are like hints of possible spills or scratches from the distant past. It is actually very difficult to get these to photograph well. I think they look much better in person. Now I need to let these sit undisturbed for several days to let the tarnishing process really set. They will subtly change tone over the next several days as the surface keeps slowly reacting with the air.
The final process I used was fairly straight forward. I got the best results by first polishing the copper with some #000 steel wool. Each piece was then cleaned with isopropyl alcohol and allowed to dry. I also tried buffing the copper to a high shine but it didn’t work nearly as well and turned out blotchy and inconsistent. It’s almost like the metal needs some small degree of roughness for the chemical etching to work properly.
I then submerged each piece in a bath of chemical film “fixer” and water mixed about 3:1 water to fixer. This is the link to the fixer I used. I used a photographic process tray and gently agitated the fixer until I got the degree of patina I wanted on the copper. This was approximately 7 minutes in the fix bath. I then quickly transferred the pieces to a pure water tray and agitated them for a few more minutes. Following this, the pieces were rinsed in flowing water from a tap and dried with hot air.
At this stage the patina is very fragile. It is imperative that nothing come in contact with the surface of the copper, including during processing. Even a bump of the surface with the tip of a nitrile glove will leave a smudge. I used a small dental hook to pick up each piece from the baths and only put my hands on the back side.
And now that I’ve seen the copper and I’ve had a chance to handle some of the earlier test pieces, I’m thinking of something different for this amp chassis. Previously I was going to clear coat the copper and put several coats of an oil finish on the wood. This was the type of finish I applied to the Zebrawood amp recently. But now I’m thinking that I’ll leave the copper bare and treat the wood more like I did on the 6EM7 Vertical Amp. For that amp I applied two coats of oil, buffed it to a dull luster, then applied some hard paste wax and buffed it out.
I’m thinking that the bare tarnished copper and the antique finish on the wood will give that amp a nice aged look. It will also allow both the copper and the purple heart to age together over time. The purple heart darkening and taking on a more red/brown hue and the copper picking up more patina and maybe some handling and contact marks. My hope is that in a couple of years it really will look like an 80 year old piece of equipment.
Now, while the copper is setting up, I need to take advantage of the weather and get back to work on the the chassis for the triode test jig.
As always, questions and comments are welcome.
Pingback: 6AS7 SET Chassis Is Almost Complete | Cascade Tubes
I like the patina; it turned out well because of the planning. Did you consider buffing the metal with wax – sort of a half way between untreated and clear? I guess you could do that after a couple of years of weathering and getting the exact look you want; I was just curious. Dan
I’ve tried waxing metals before in an attempt to preserve patina, but I’ve never been satisfied with the results. It works at first, but with any handling the wax wears in spots and then the aging gets really uneven. For wax to work as protectant, I think it would have to be applied periodically like we used to do with wood furniture.