
I currently have a couple of major projects on the workbench and a few other minor tube circuit investigations underway. When this happens I find myself pulling things off of shelves, moving other things around, and generally creating quite the mess until I’m having problems finding just about anything. When this happens I generally step back and take some time to get everything organized again. But this time, I wasn’t quite prepared for what I found.
While performing this task yesterday I began pulling jigs and fixtures off the shelves in my parts closet. In general these tend to get pulled off a shelf for use and then, when I’m done with them, just stuck back in the closet wherever they’ll fit. It’s actually been quite some time since I’ve pulled all these out of the closet and attempted to get organized. When I looked at the stack of things on my work table, this is what I saw.
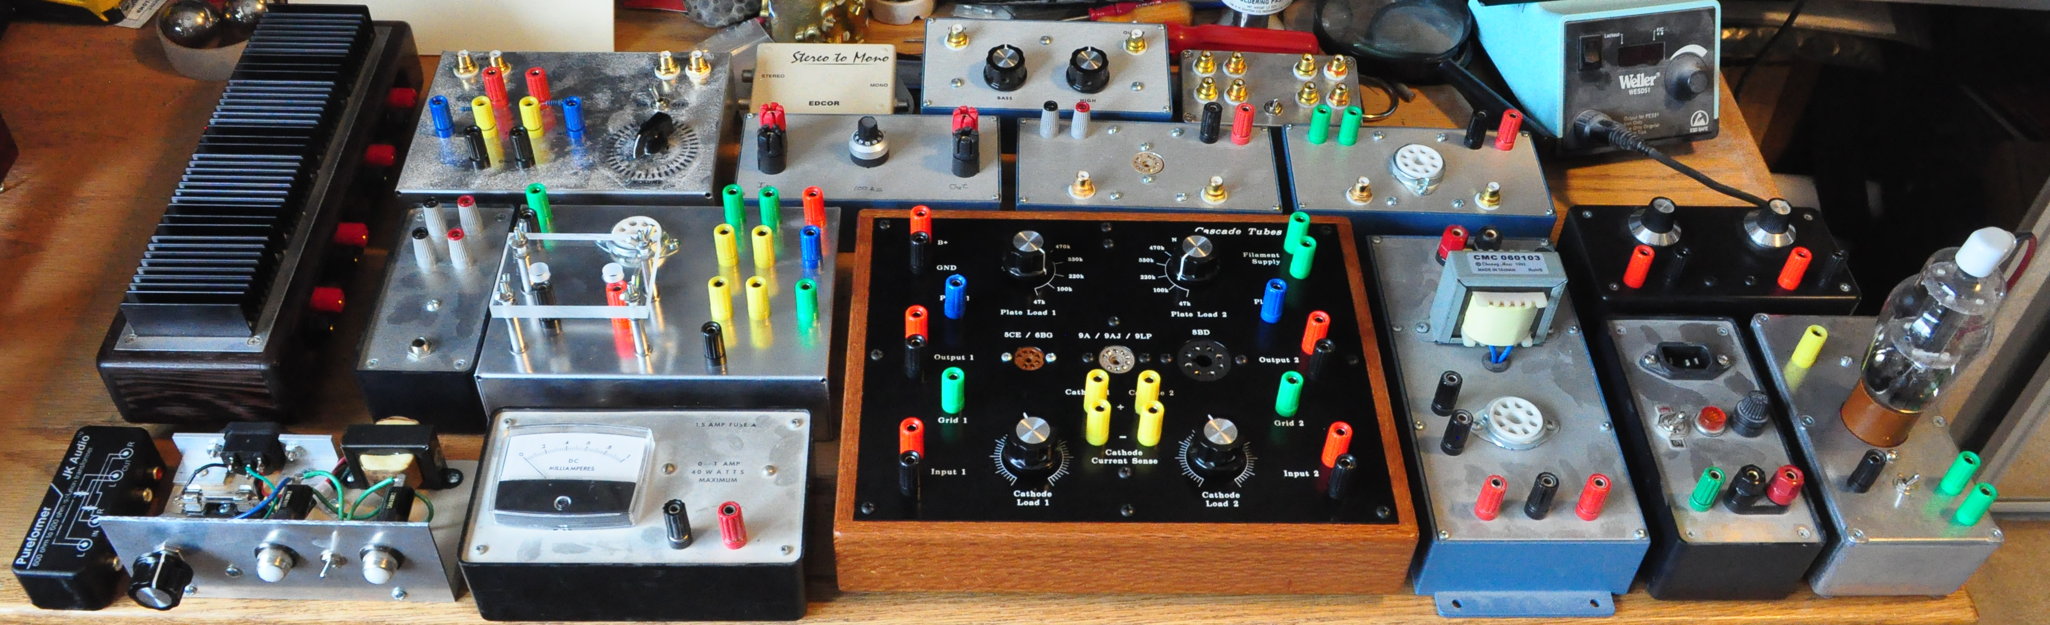
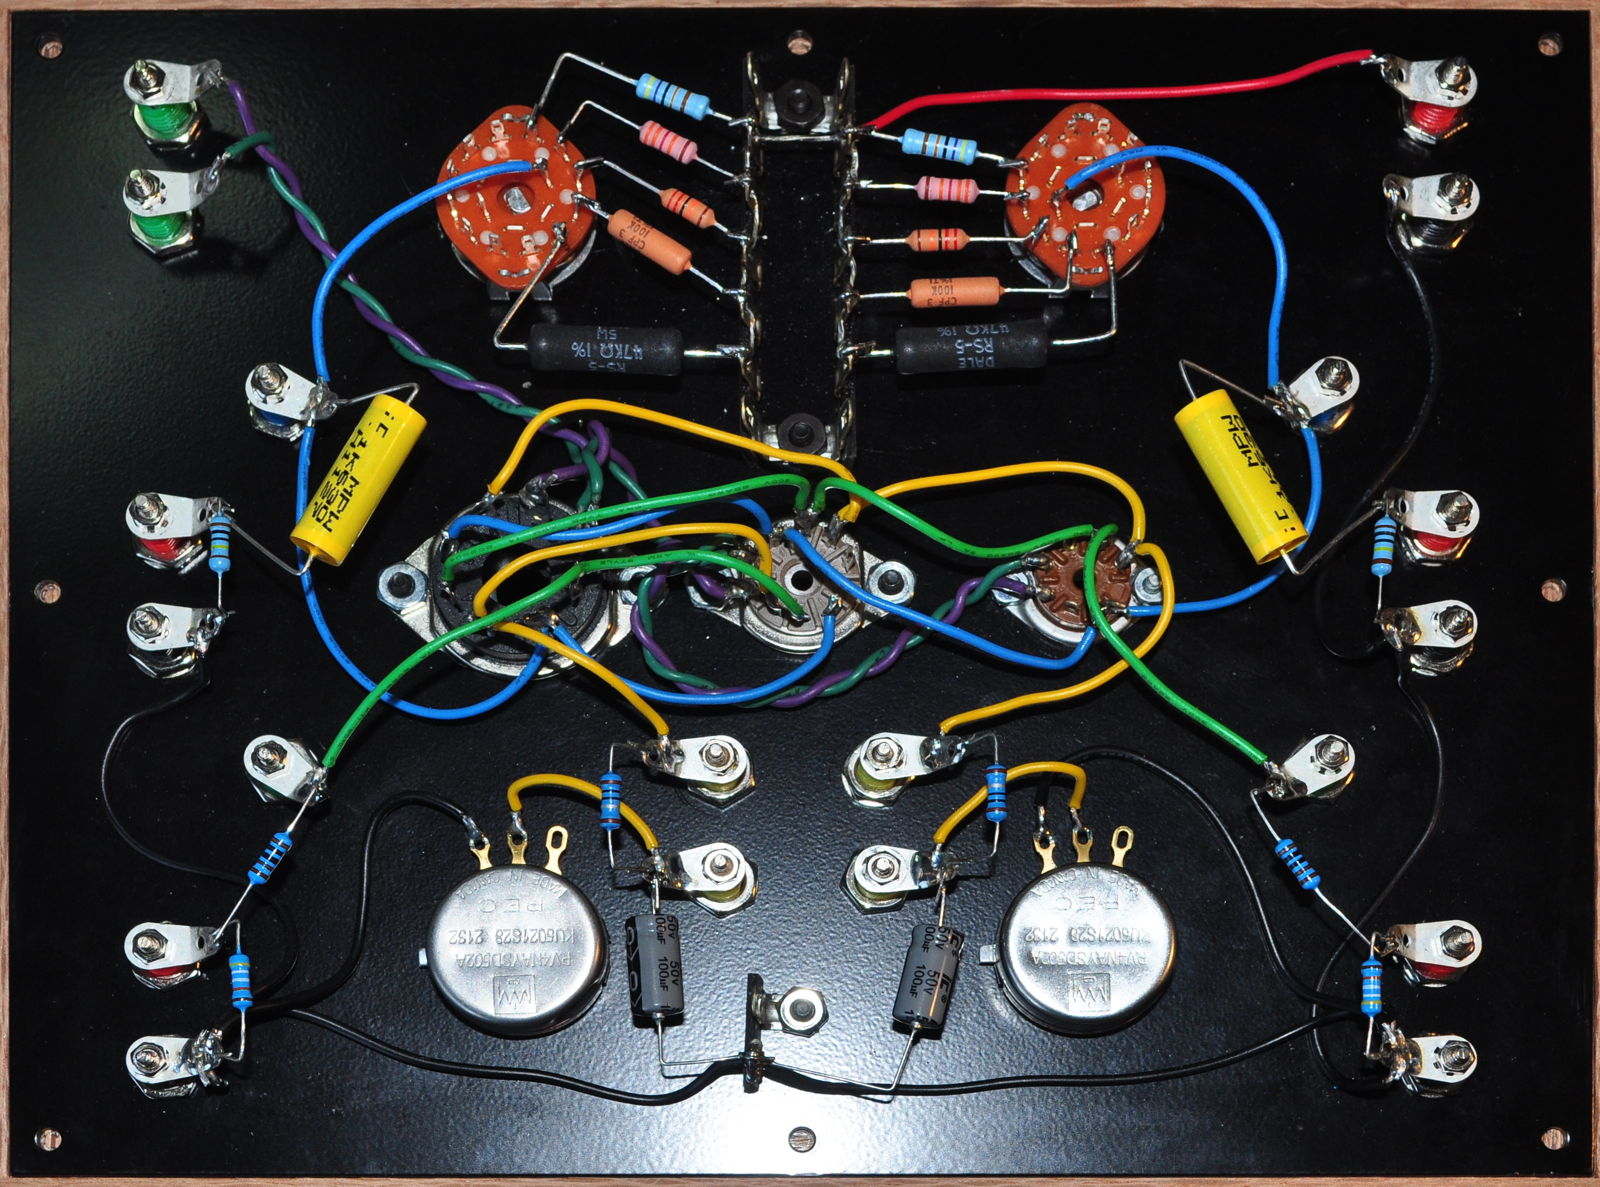
And this picture doesn’t even contain them all. As I looked at the collection of various jigs and fixtures, it struck me just how many I’ve accumulated over the years. It’s quite the eclectic mix. Some are commercially made but most are my own creations. The simplest is just a headphone jack and four banana jacks in a small box. Probably the most complex is the dual triode test jig. Here’s what that one looks like inside.
Lest anyone think I spend an inordinate amount of time building jigs, I want to say that the collection pictured above (as well as those not pictured) has taken over 40 years to acquire. Some of these are quite new. The dual triode test station front and center was just completed several weeks ago. And others are years old. The oldest in the picture above is the small current meter in the front row on the left. This was the first single purpose electronics jig I built over forty years ago. I’ve been carrying it from place to place and using it more than a few times over the intervening years.
Now some people don’t understand why I keep all this stuff lying around and cluttering up my parts closet. But my general philosophy concerning jigs and fixtures like this is simple.
Build it when you need it. Keep it forever because someday you’ll need it again.
Most of these have been used multiple times since they were first made. Each time they saved me both time and effort, allowing me to better focus on the project or task at hand. And just because I’ve built it doesn’t mean I won’t modify it for some similar purpose later on. These are tools. And like any tool they simply allow me to do things I want to do more easily and with greater precision and safety.
As always, questions and comments are welcome.
Pingback: Old Dog, New Tricks | Cascade Tubes
I bet the woodworking jigs and fixtures take up a bit more space.
It’s challenging to use the same shop for woodworking and elec projects. I can’t afford a bigger shop, so it’s a constant shuffle…….elec jigs have a couple drawers to themselves but woodworking stuff is all over the place. Do you have any clever strategies for this situation? My biggest problem is when an elec project needs to sit on the bench for several days but at the same time a woodworking project needs to happen……and is held up.
I solve this issue by having two workspaces. (I know, that’s cheating. 🙂 ) I have my wood shop (≈16’x21′) and an office in the house (≈11’x12′). I work on the amplifier chassis in the wood shop (woodwork, metal cutting and prep, finishing, and painting) then they come to the work table in my office for assembly and test.
However, in the wood/work shop I often run into the issue you mention. My approach is to have multiple places to work. My workshop is a general space that supports, woodworking, metal working, general DIY, and home repairs. So I have two fixed workbenches. One is a heavy bench I built myself, the other a commercial bench I bought. Here’s the one I built.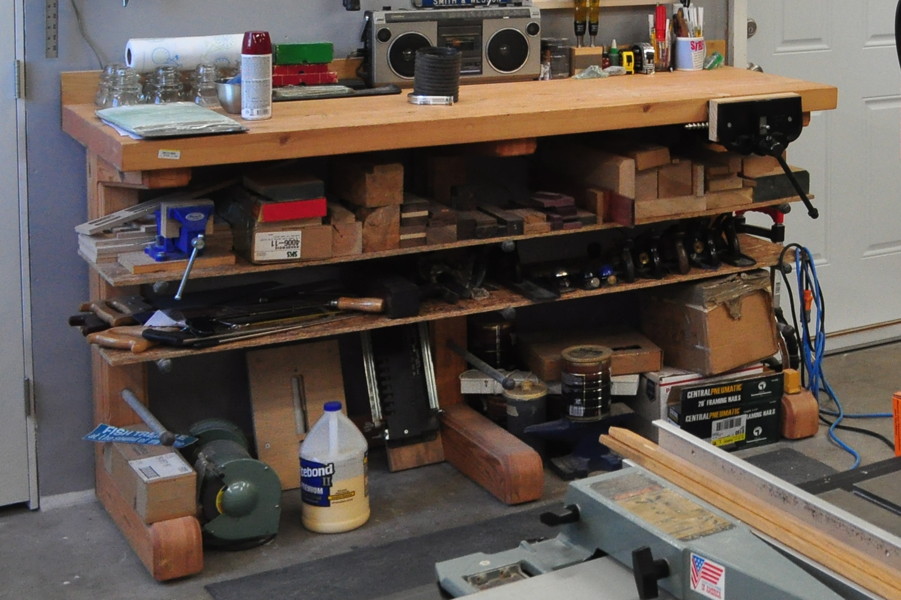 This is about six feet long and about 28″ deep. In addition to the workbenches, I have a top I lay across the table saw for assembly, a portable folding table, a couple of collapsable saw horses, and some roller stands.
I do a lot of juggling of projects, but things usually seem to work out ok.
That is a great picture. What is the top made from?
The top is made from Douglas fir 2x4s, ripped to 2-1/2″ width and run through a planer to get good glue joints. They’re laminated on edge to forma a solid wood slab. The top slab is 24″ front to back comprised of 16 pieces of fir.
It looks strong. Are the legs Douglas Fir too? They look like a 4×4 that was cut, edged, and joined.
The legs are built from 2×6 fir treated the same way. The legs are three thicknesses side to side and have double lap joints at the back top and bottom for rigidity. Here are just the legs before I put the bench together.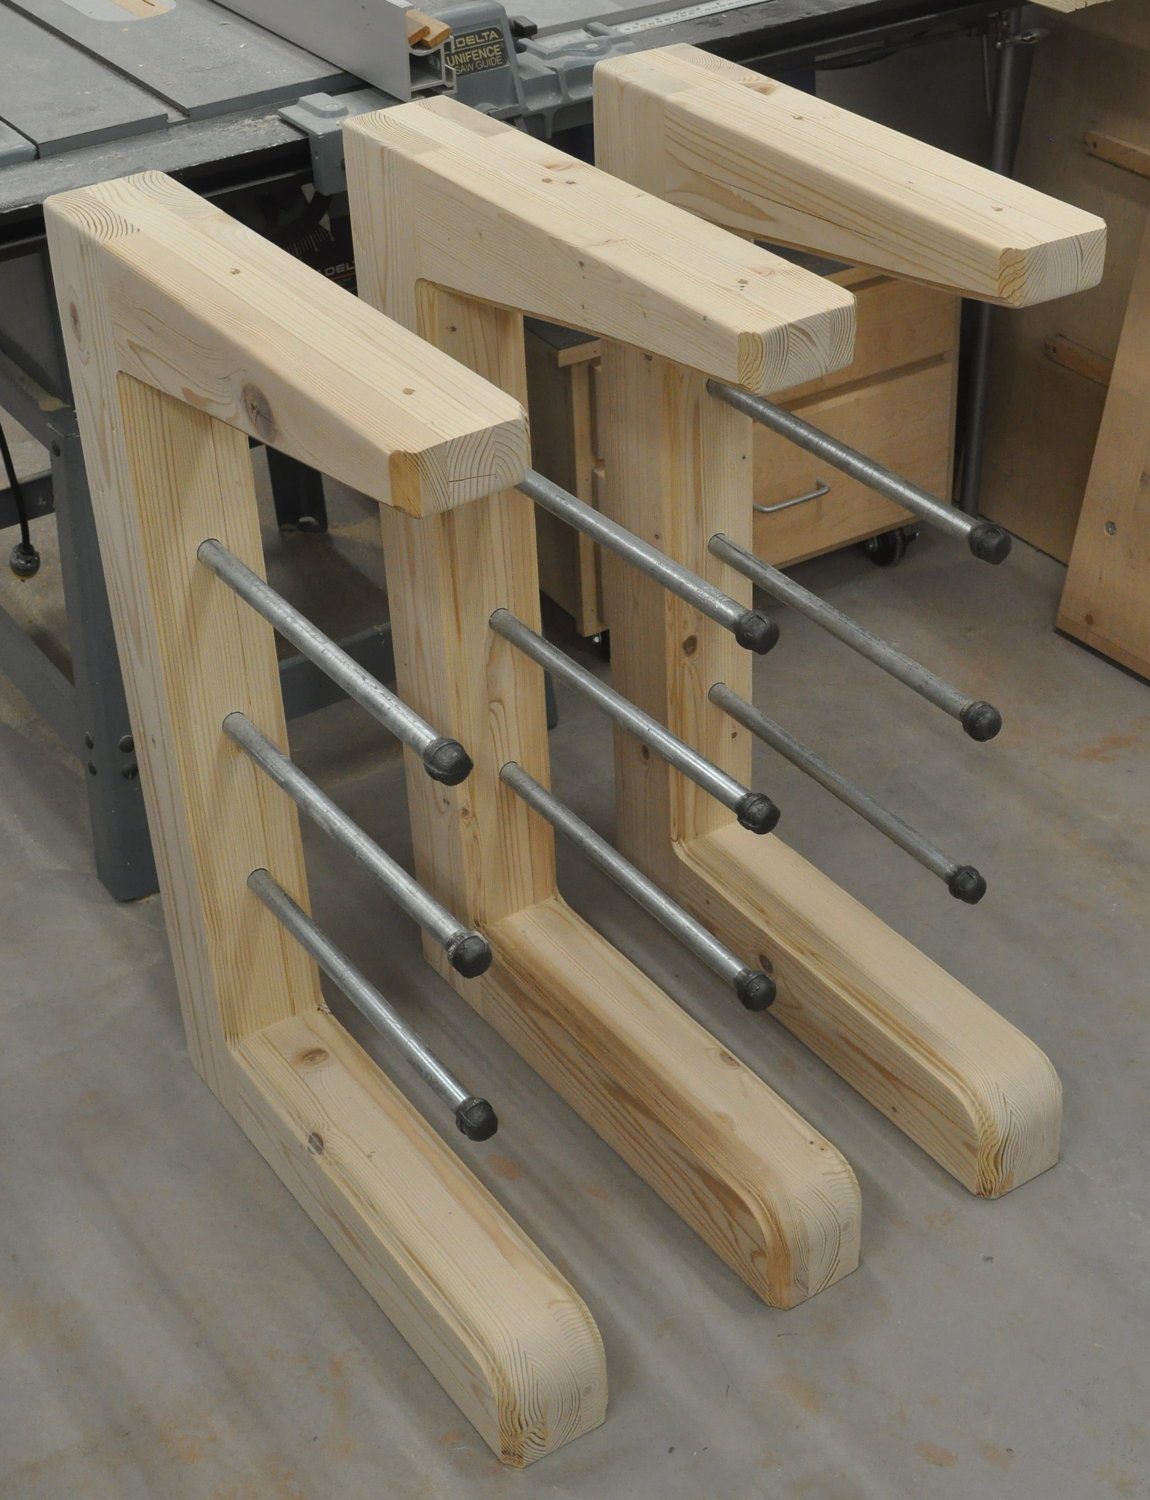 The shelf supports are just pipes that are stuck in holes drilled with a few degrees of up tilt. I built the bench this way so that there would be no supports in front. This keeps the access under the bench clear of obstructions. I built this bench about 6 years ago and it’s worked very well for me.
What electronics shop is “perfectly organized”?
Mine is semi-organized at best. I more or less know where to look for what I need. In a few minutes I can sort of know if I have one or not.
Question – what is that thing with the 807 on the right side?
Well, yes, I too find organization to be a fugacious thing. 😉
The jig you mention is an 807 Triode mode test fixture. About 5 years ago I was doing some investigations and I built this little jig to allow me to test some experimentation configurations. I wrote all about it in the post “A Lesson in Power Stage Distortion” back in January of 2017.