
I know that I told myself I was going to give the paint on the 6L6 SE-UL top plate a week to harden before I started assembly. But then I thought “Hey there’s other assembly I could perform”. So that’s what I did.
It started with all the connectors on the rear plate. That plate had been sitting for a couple of months since it had been painted. So those parts got mounted. Then I convinced myself that, since they were small and I could handle them carefully, I should be able to work with the two small front plates. So I mounted the volume control, power switch, and indicator into those. And the base plate already had its brushed finish, so mounting the rubber feet was obviously okay. Finally, I reasoned, that the best way to protect these plate from scratches and dings was to mount them in the chassis.
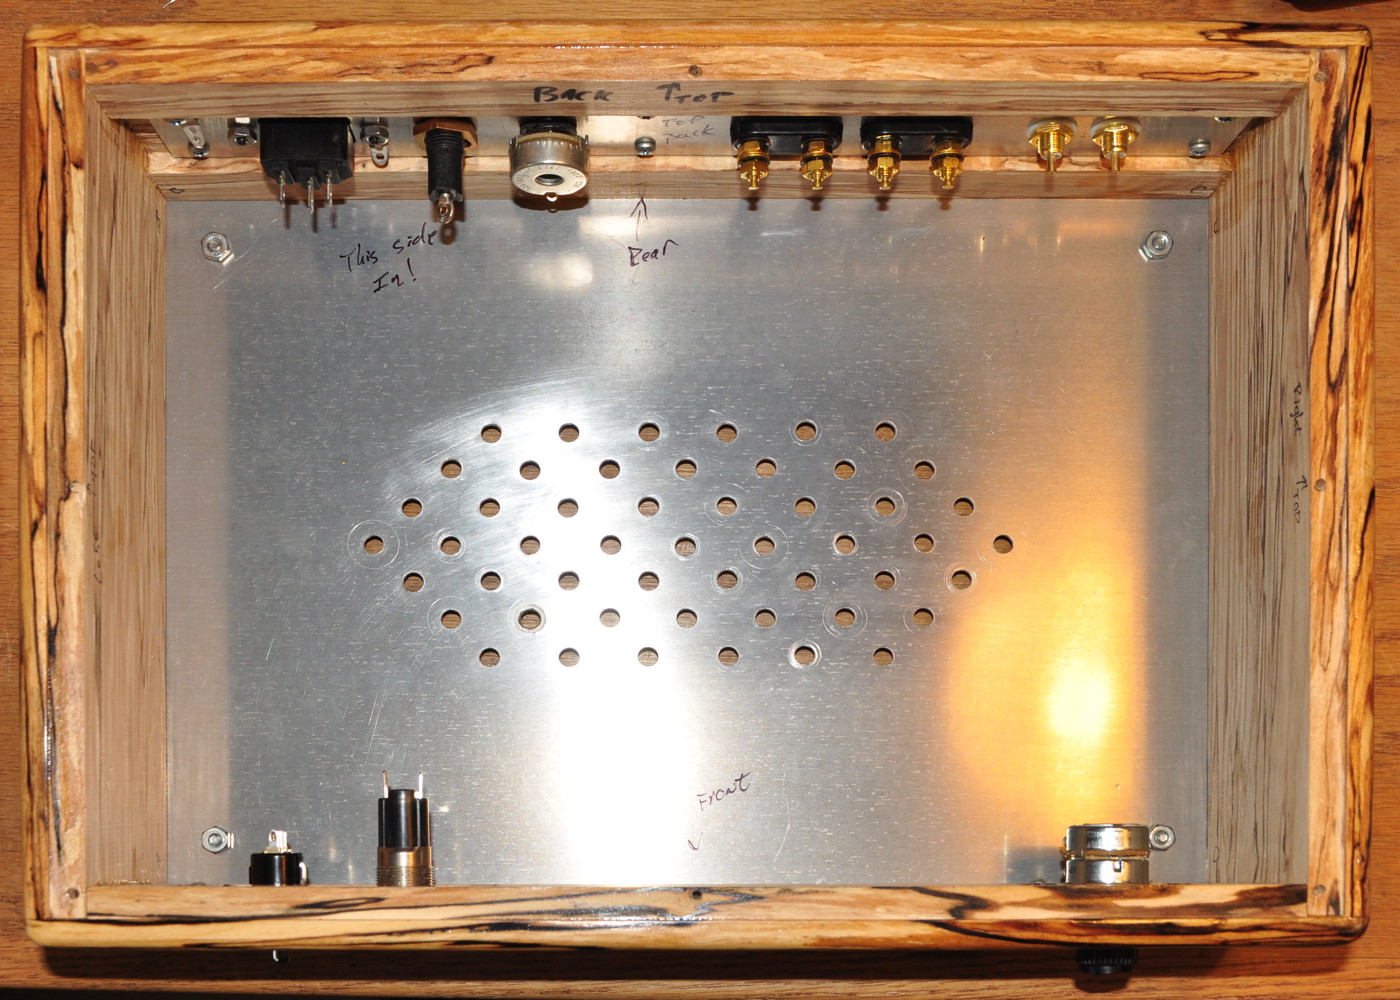
That’s the story of my various rationalizations which brought me to where I am now. I haven’t touched the top plate yet, but the other chassis components are all mounted. Here’s how it looks; front, rear, and internal.
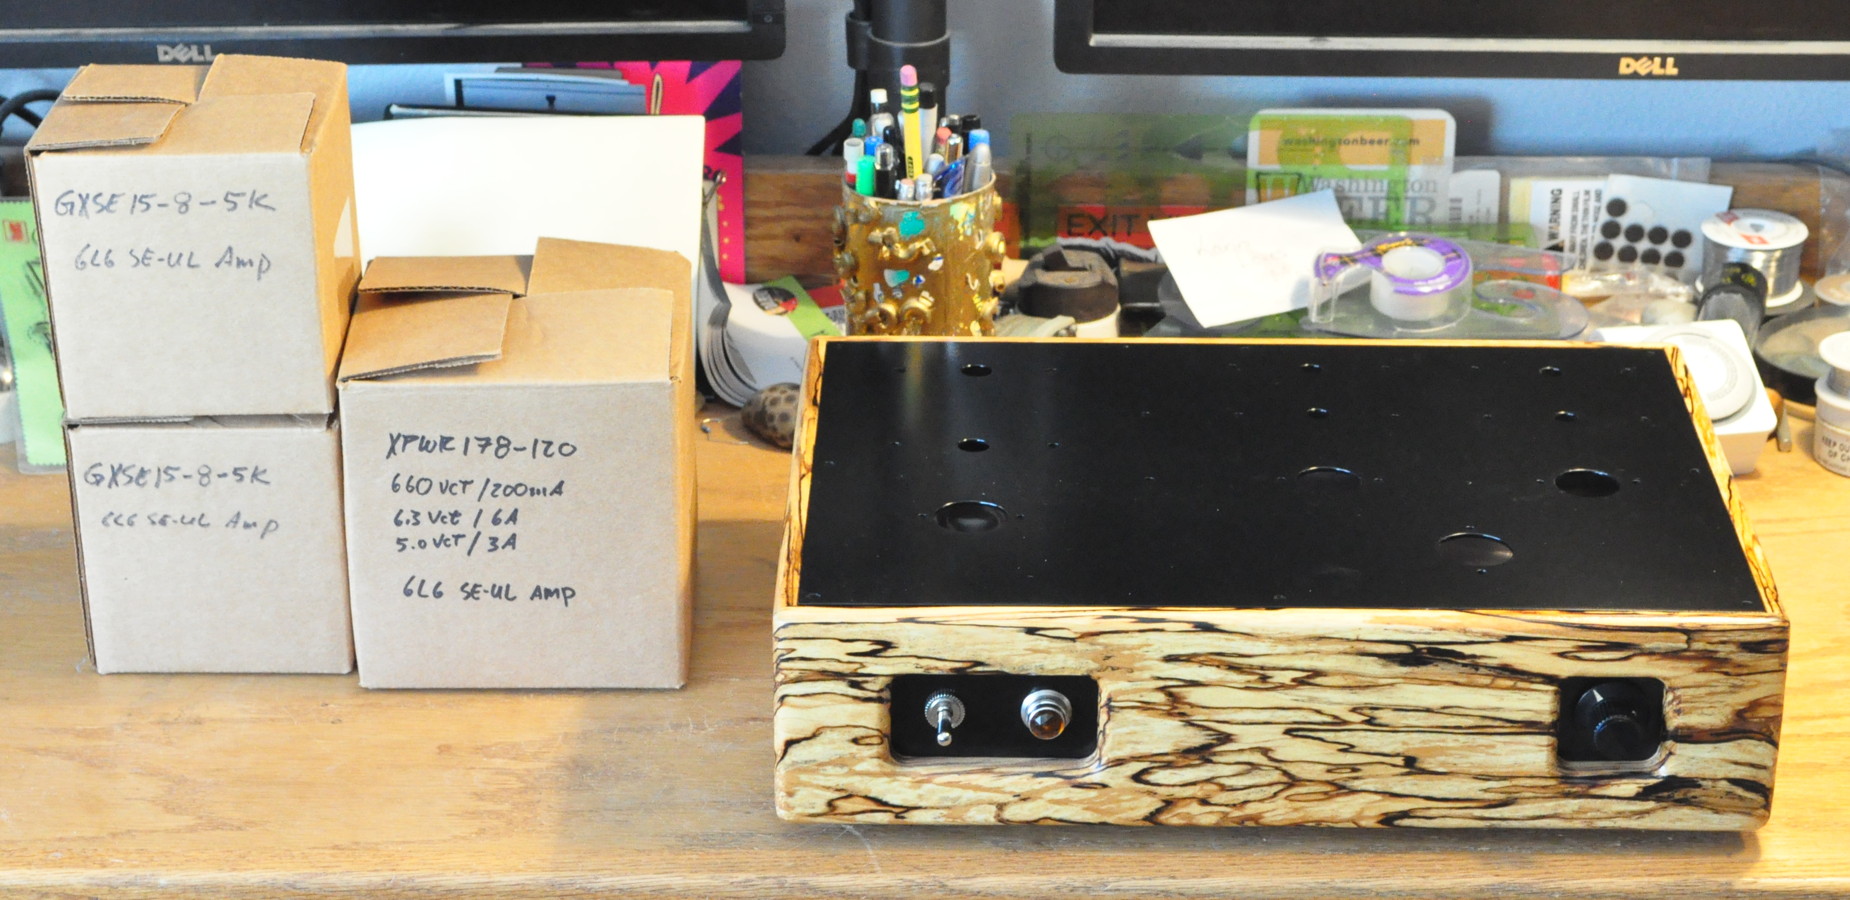
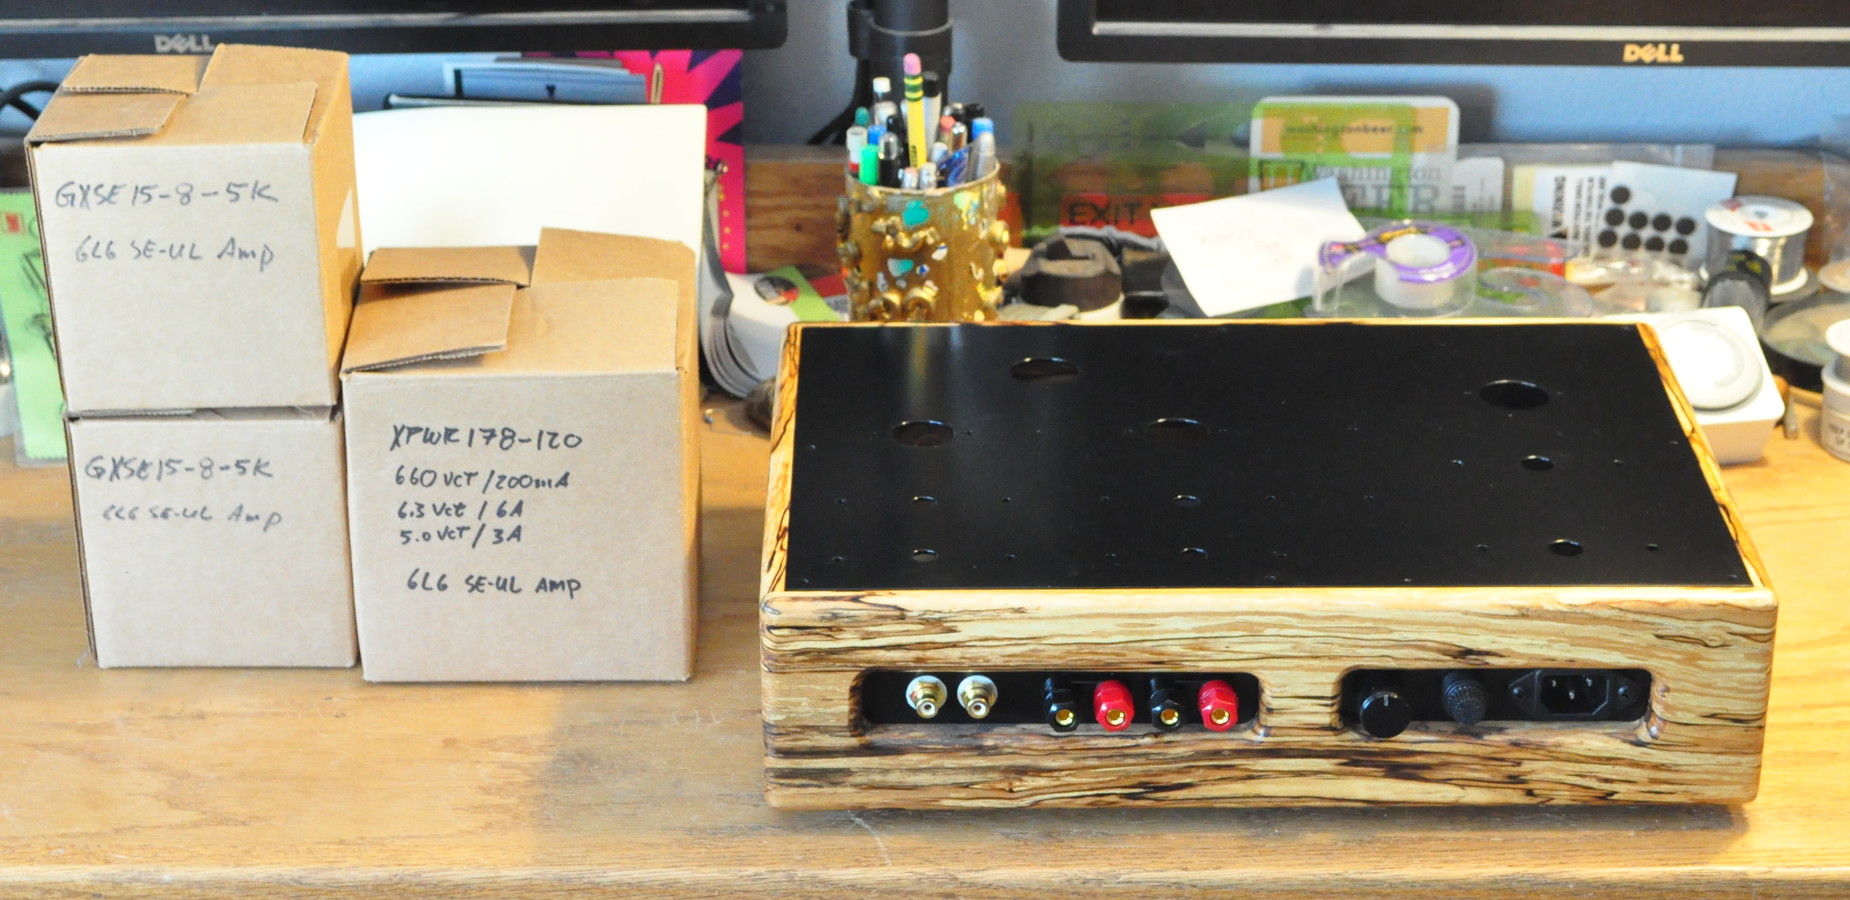
Those boxes to the left are the power transformer and output transformers for mounting on the top plate.
I suppose I could start doing some internal chassis wiring like mains power to the switch and the input wiring to the volume control. I could also mark and drill for mounting the three power chokes. I probably won’t be able to wait till next Monday.
As always, questions and comments are welcome.
Can you remind me what the 50 Ohm 5 Watt potentiometer in the heater circuit is for? I was guessing you wanted to get voltage as close to 6.3 as possible, but I couldn’t find the answer in the blog posts.
That has nothing to do with the filaments. This control is solely in series with the #44 indicator lamp (6.3v @ 250mA, 0.9 candela) to control the brightness of the indicator. This is something I first did on the 6EM7 Vertical Amp (you can find the reference to it at the end of the article) and have incorporated on several pieces of equipment.
Left at full brightness just a few of these indicators can overwhelm a room at night. This control allows me to adjust them for less glare and distraction. I also like to change jewel colors and different ones look better at different brightnesses. It may be a rather frivolous addition but I like it so I include them in lots of projects.
Thanks, I see the mention of the issue in the postscript. It seems like a simple fix to what might be an annoying problem.