
So I’ve been playing with the copper tarnish/patina process and I think I’ve got it figured out. After doing lots of small parts with various approaches I’ve learned enough to start the amp pieces. Among the things I’ve learned is that the washing process both before immersion in the chemical bath and after tarnishing while washing off the chemicals is very important. I’ve also learned that an even buff with a steel wool is better than taking the copper to a high gloss shine. And finally, the initial tarnish is very fragile. After doing the bath and letting the piece dry, it really should be left sitting in the open air for between three and five days. After this, the oxide layer toughens up and it can be handled and clear coated.
Another thing I’ve learned is that there is really a handling difference between small and large pieces. I started looking for a flat, non-reactive tray to treat the top plate for the amp. The top plate is 10″ by 12″ (25.5 cm by 30.5 cm) and I couldn’t find a tray big enough. The solution to my problem finally came when I realized what chemical I was using.
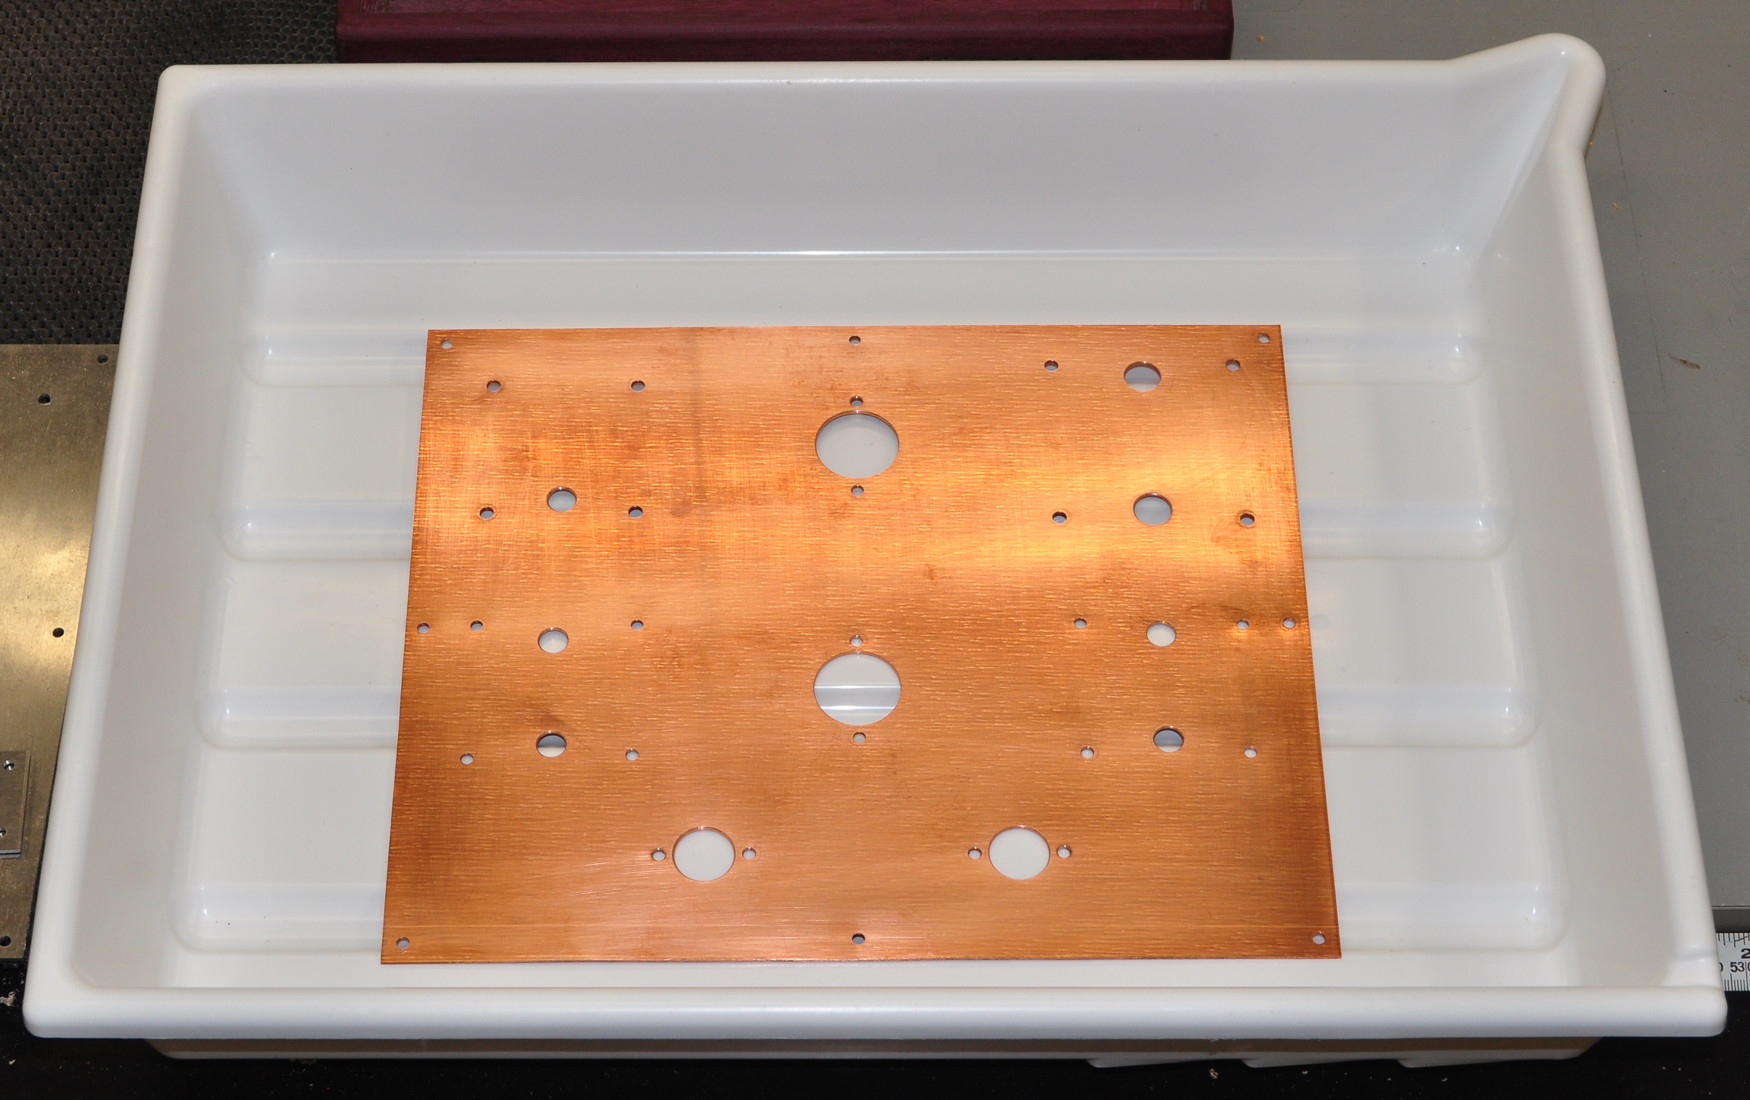
That’s the copper top plate in a standard 12″ by 16″ (30.5cm by 40.5cm) film developing tray. It will probably require a little more chemical bath than I had anticipated, but it should work out fine.
As soon as I get an opportunity to try out the top, I’ll post some pictures to show everyone how it looks.
Looking forward to it – What are you using for the clear coating?
When I was doing the 6DJ8 headphone amp I experimented with several different products including some used by speciality jewelry makers. I finally settled on a simple spray on clear coat. I don’t recall which one but it was nothing special.
Thanks, I haven’t sprayed an amp, but for other projects I use a 2-part clear that I get from a friend in a body shop that came in an aerosol can. I am excited that the SET project is moving forward.